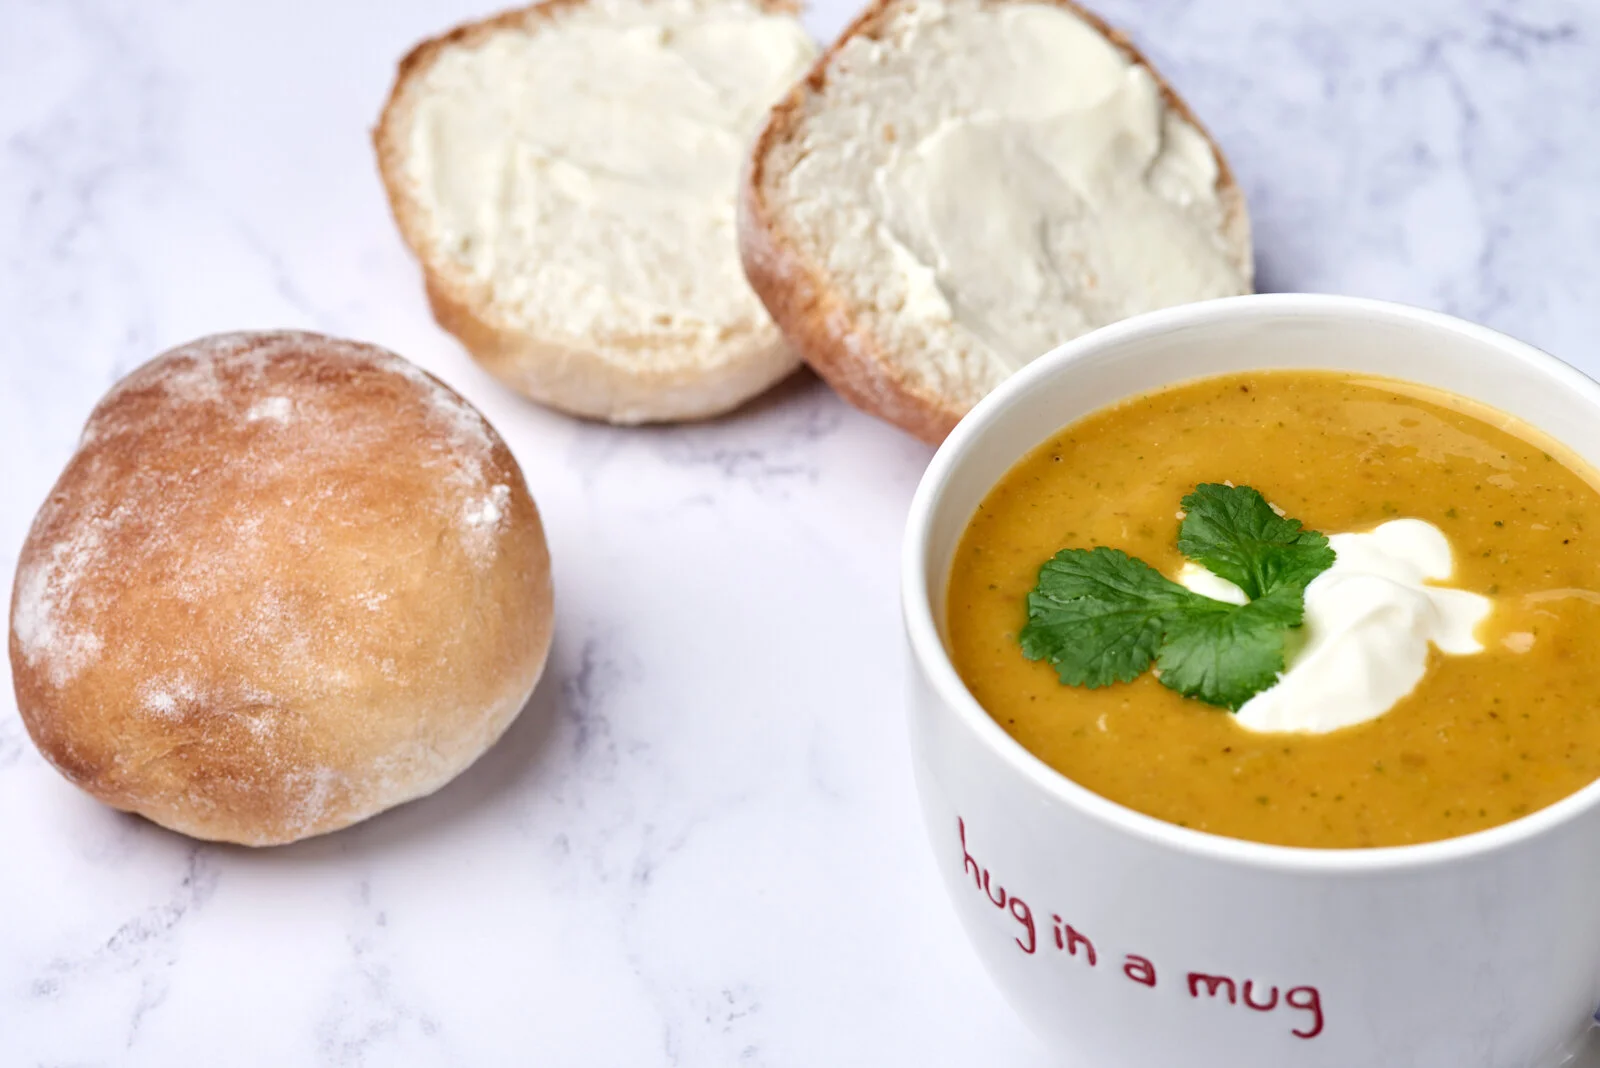
Roasted butternut squash soup with home baked bread
It is most certainly the weather for a soup like this. I’m a fan of home made soup, there is nothing better on a cold, blustery day like today. I’m also a fan of butternut squash, it’s one of my favourite vegetables. In our house it becomes the star of the show of mid-week meals. It finds its way into curries, pasta sauces, risottos, and on lots of occasions, soups.
This recipe is a really good one. It’s kind of open to interpretation and can be adjusted to fit, depending on the size of the squash.
You will need:
Butternut squash, the one I used was fairly small and made enough for a decent portion for two people. An onion, two cloves of garlic, vegetable stock, milk (dairy or plant based), cumin seeds, coriander, olive oil, salt and pepper.
You will need to:
Cut the squash in half and rub all over with olive oil, season generously and roast for an hour on 180-200 degrees (your oven, your rules). After half an hour, quarter the onion and peel the garlic - add both to the roasting tin coating in oil before hand. When they’re all roasted, leave to cool until you can handle the squash. In the meantime, toast a teaspoon of cumin seeds in a pan over a medium heat. Scrape the flesh of the squash away from the skin and add to the pan along with the onion (peel the skin off first) and garlic. Add enough vegetable stock to cover and bring to a gentle boil. Add in chopped coriander stalks. Simmer for about 10 minutes and then remove from the heat. Use a stick blender to make a smooth soup, and thin out a little with a splash or two of milk. Serve with a dollop of creme fraiche (or plant based alternative) and some chopped coriander.
For the bread you will need:
500g of strong white bread flour. 10g of instant yeast. 40g caster sugar. 10g salt. 40g melted butter. 320 ml of cool water.
You will need to:
Add the flour into a large mixing bowl, add the sugar and salt to one side, and the yeast to another. Add in the melter butter and bring the mixture together with your hands. Start to add in the water until it all comes together as a sticky dough. Mix with your hands until all the dough as come together. You may not need all of the water, you may need a little more.
Empty the dough onto a lightly floured surface and begin to kneed until the dough is soft and silky and springs back when you press it. This can take 5-10 minutes. Pop the dough into a lightly oiled bowl and cover. Leave to prove for at least an hour, up to 3 if needed, until the dough has doubled in size.
After its first prove, tip out the dough and ‘knock it back’ which is to give it another quick kneed until all of the air has been knocked out out it. Divide into 60g pieces (makes about 12) and roll into small balls. Line two baking trays with parchment and preheat the oven to 220 degrees. With a rolling pin, roll each ball of dough to twice its original size and place on the tray, 6 to a tray. Make sure they’re not touching. Cover again and let them prove for a second time for around an hour.
Place both trays in the over and bake for 10 minutes or until a nice golden colour on top and the bread rolls make a hollow sound when tapped on the base.
Leave to cool on a wire rack and then pack into an air tight container for up to 3 days.
Enjoy!
Delicious!